


According to a study conducted by the National Fire Protection Association, the leading factor contributing to home heating fires was the failure to conduct routine stove maintenance. One of the most important parts of proper stove maintenance is the regular replacement of your stove rope gasket. Without a working rope gasket, your stove will struggle to work correctly and be at higher risk of causing fire-related damage.
What is a Stove Rope Gasket?
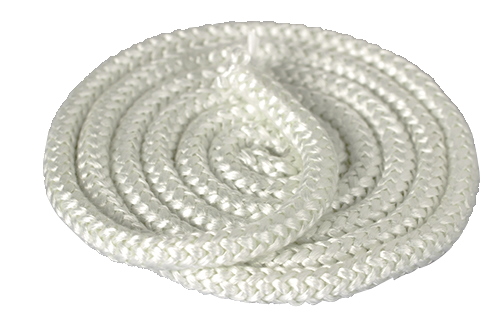
A stove rope gasket is a braided thermal rope, often made of fiberglass or another heat-resistant material. They help seal the glass of your stove, fitting in a special groove located around the inside of each door on your stove. Stove rope gaskets are held in place using stove gasket cement, a special adhesive designed to withstand higher temperatures. This ensures that the glue remains bonded to the gasket and prevents any potential loss of seal.
How Often Should I Replace My Stove Rope Gaskets?
If your gaskets are failing to provide an airtight seal on the door of your stove, you’ll want to replace them immediately. There are several indicators your gasket may not be forming a perfect seal, including:
Air currents can be felt moving towards certain parts of the door
Your stove is failing to heat the room efficiently
Fires seem to burn out faster due to reduced air control
Smoke or other fire byproducts are entering the room
You’ll also want to change the gaskets any time you replace the glass. It's recommended that you change your gaskets every burning season to be safe and to keep your stove working efficiently. This is often the easiest option, as it can sometimes be difficult to identify the early stages of gasket failure. An annual gasket replacement can help you avoid the need to identify a leaking seal, removing the stress of emergency maintenance. Consult your instruction manual to find the exact type of rope gasket you’ll need for your model of stove.
What You’ll Need to Replace Your Stove Rope Gasket
You’ll want to assemble several items before you begin, including:
|
|
Once you have your materials together and your wood or pellet stove is turned off and completely cold, follow these steps to remove and replace the rope gasket. You will need multiple gaskets if your stove has multiple doors, and you’ll have to repeat this process for each gasket that you replace. While the instructions below are built around a Harman P61A, they will work for almost any wood or pellet stove.
Proper Stove Maintenance: How to Replace a Stove Rope Gasket in 6 Steps
Step #1: Remove Door
Start by removing each door on your stove by lifting it from their hinge blocks. Lay the doors onto clean, soft surfaces so they aren’t damaged.
Step #2:Remove Old Gasket
Once the door is removed, you’ll need to take out the old rope gasket and scrape away any leftover adhesive from the groove. This can be done with your screwdriver and pliers, which will allow you to get under the rope and pull it away from the door frame.
Step #3: Clean the Door Groove
First, you’ll want to remove the biggest pieces of adhesive using your screwdriver. Then, using your wire brush or other cleaning implement, carefully scrub the gasket groove to remove all traces of creosote, adhesive, or debris.
Step #4: Measure and Cut Your Rope
Your stove’s manual should include the exact size your gasket should be, but you can also determine the size by measuring the door groove. Once you have the correct length, place ceramic tape around the end of the rope. Cut in the middle, and allow the remainder to fold over the end. This will help create a better seal. Then meet the two ends neatly and use more ceramic tape to finish the loop, it's recommended not to join at the corners.
Step #5: Apply Your Adhesive and Set Your Rope
Apply an even and generous amount of your adhesive to the door groove, setting your rope carefully once applied. Make sure that your rope ends in the middle of the door’s lower edge, and that your ceramic tape is face down against the casting.
Step #6: Let Dry and Refit the Door
Your adhesive will need to dry for at least three hours before you can reattach the door to your stove. Apply some pressure onto the rope once the door is set, making sure there are no gaps. The door will need to remain closed for 12 hours before you can light it, and should only be run on low temperatures for the next 24 hours.
How Can I Be Sure My Rope Gasket is Installed Properly?
One way to test your stove is the match test. While your stove is running, light a match and extinguish it near the door. If you see any smoke being sucked into the stove, that indicates there isn’t a proper seal. You can also test the stove before you light it by shutting a dollar bill in the door. If you can remove the paper easily, that means that the seal isn’t quite air tight and your rope may have been placed improperly.